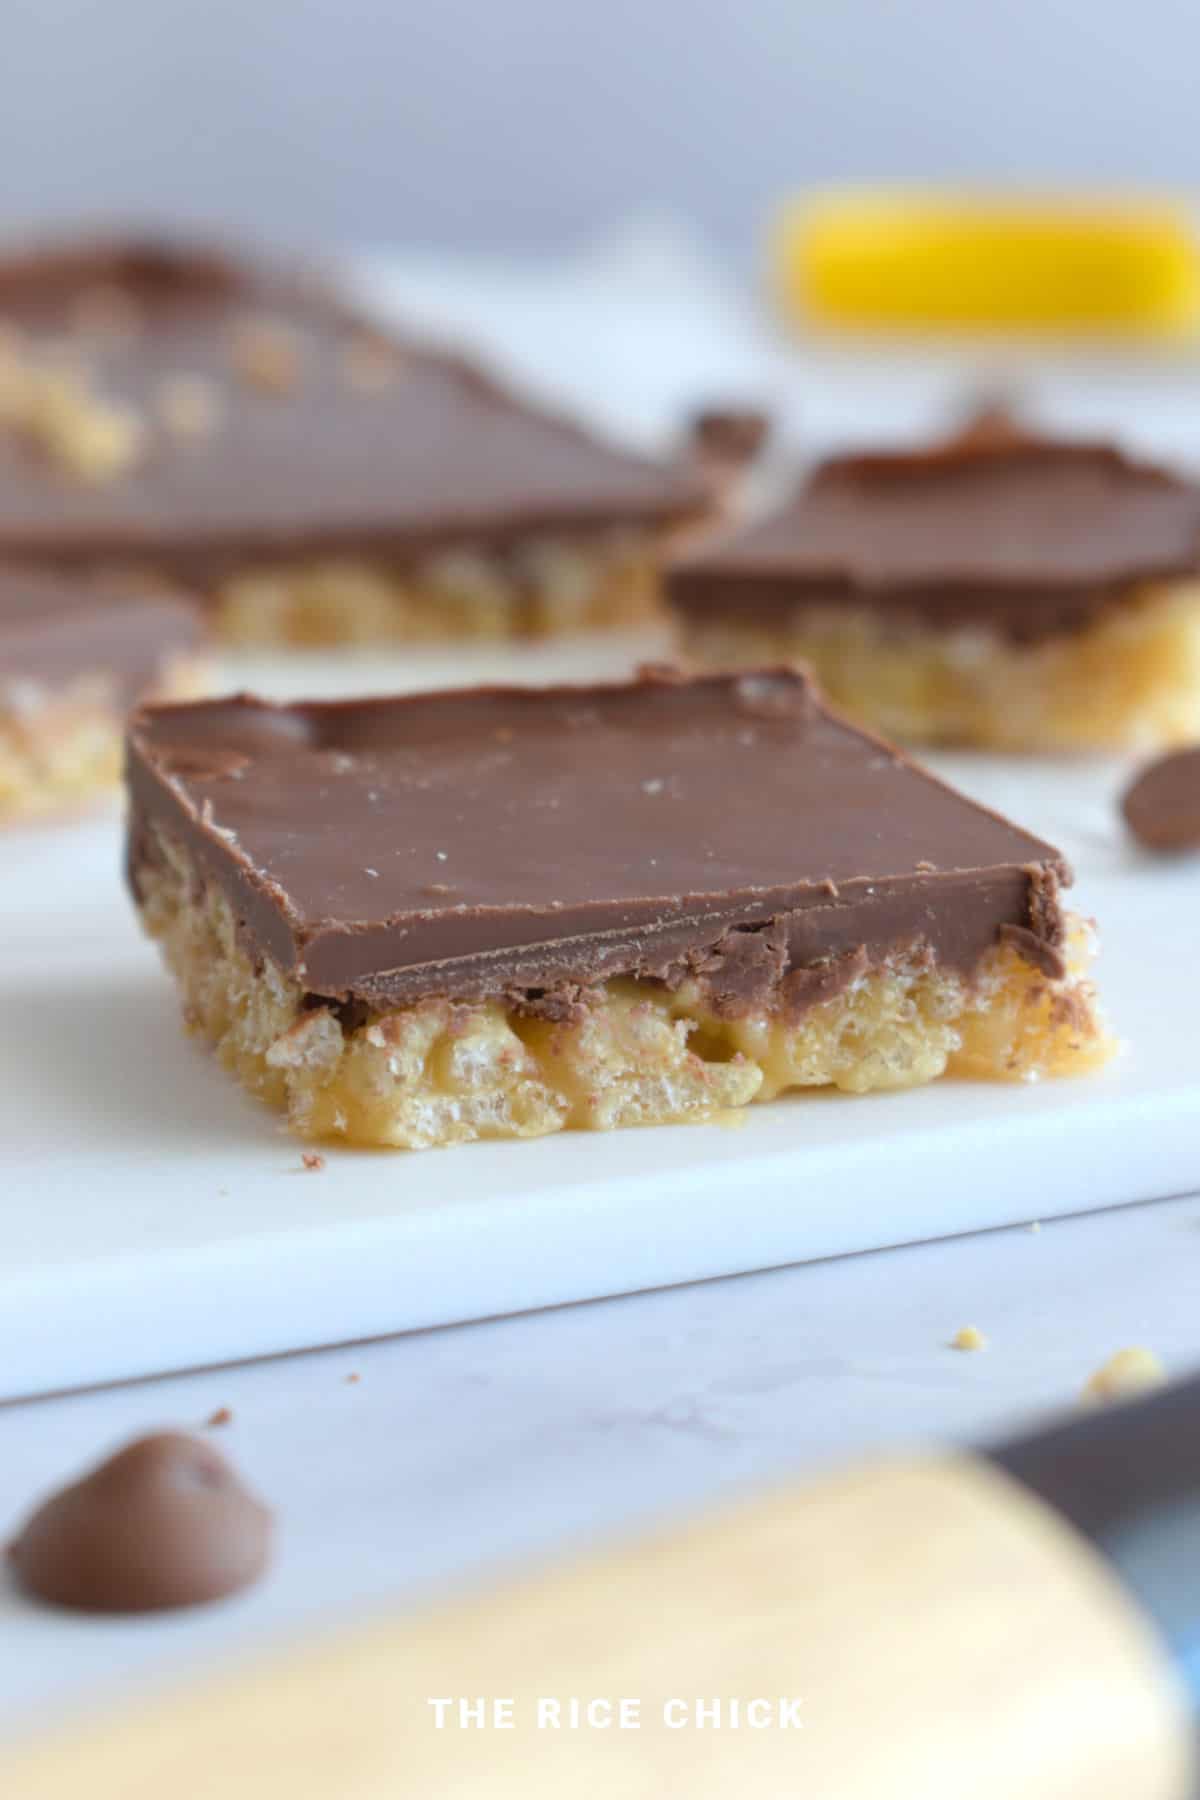
These crispy, gooey, chocolate peanut butter rice Krispie treats are the perfect balance of salty and sweet.
What's more is that it's easy to make, and perfect for a sweet treat or dessert.
Jump to:
Crunchy, sweet, and packed with chocolatey goodness, these treats are a crowd-pleaser. Each bite of chocolate peanut butter rice krispie treats balances peanut butter and cocoa in a nostalgic, delicious way.
Chocolate peanut butter Rice Krispie treats are no-bake desserts made with puffed rice cereal, marshmallows, peanut butter, and melted chocolate. The mixture is pressed into bars and set into a chewy, crispy texture.
You can't go wrong with the classic peanut butter and chocolate combination.
And these chocolate peanut butter rice Krispie treats are no exception.
The combination of creamy peanut butter and rich chocolate is truly irresistible.
The crispiness and gooey texture of the rice Krispies adds the perfect texture and subtle flavor, making these treats the perfect balance of salty and sweet.
These chocolate peanut butter rice Krispie treats are great for a school event, lunch boxes, special events like Christmas, parties, or even just as a sweet snack.

Other puffed rice recipes you might like to try puffed rice granola, chocolate rice bubble slice, rice cake toppings, rice puff slice, or rice bubble marshmallow slice.
Why You'll Love This Recipe
- Easy to make: This is a one pot recipe, meaning there is less mess to clean up and it's not that complicated.
- Add extra chopped peanuts or chocolate chips for extra crunch.
- Use any type of chocolate you like, e.g. white chocolate, caramilk, dark, or milk.
- Make in advance.
- Great for a quick snack anytime of the day or even for lunch boxes.
Cost To Make
Estimated cost = $6.35, or $0.38 a slice
Ingredients
Please note that below is a guide for some of the ingredients we used in the recipe. The printable recipe further down the page has the complete list of ingredients, including quantities and step-by-step instructions.

- Marshmallows: White preferred.
- Butter: Cubed
- Peanut butter: Smooth preferred
- Rice krispies (bubbles)
- Chocolate chips: You could use white, milk, dark, or caramilk chocolate
Instructions
Step One: Grease and line a slice tin (17cm x 27 cm, 6.69 inches x 10.62 inches) with parchment paper on the bottom and sides.
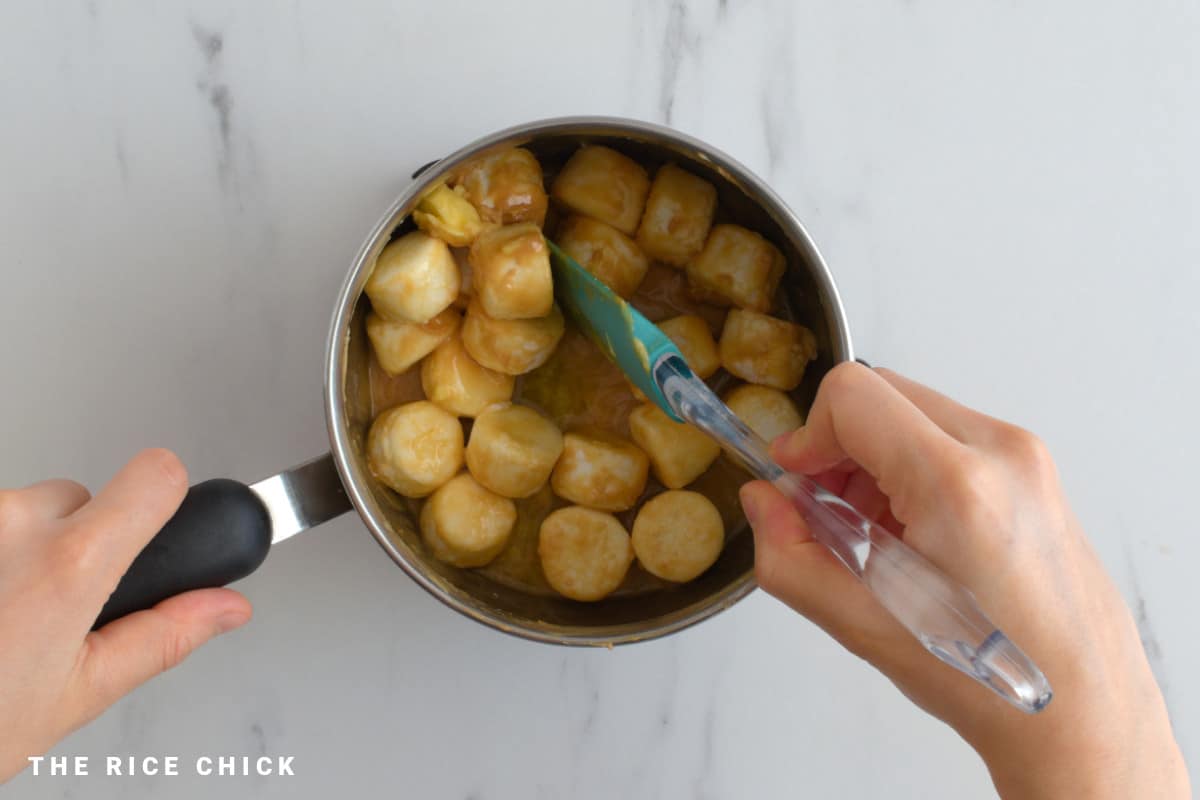
Step Two: In a medium to large saucepan, heat the butter, marshmallows, and peanut butter over low to medium heat until melted and the mixture is smooth and liquid.
Stir occasionally so that it does not burn or stick to the saucepan.
Step Three: Turn off heat. Mix through the rice krispies.
Step Four: Pour mixture into prepared slice tin. Press gently down the mixture using the back of a spoon or spatula to flatten the top and make it even. If you want the top of the slice to be smooth, simply place parchment paper on top and smooth the slice with your hands.
Step Five: Melt your chocolate chips in the microwave with a microwave safe bowl or using the double boiler method.
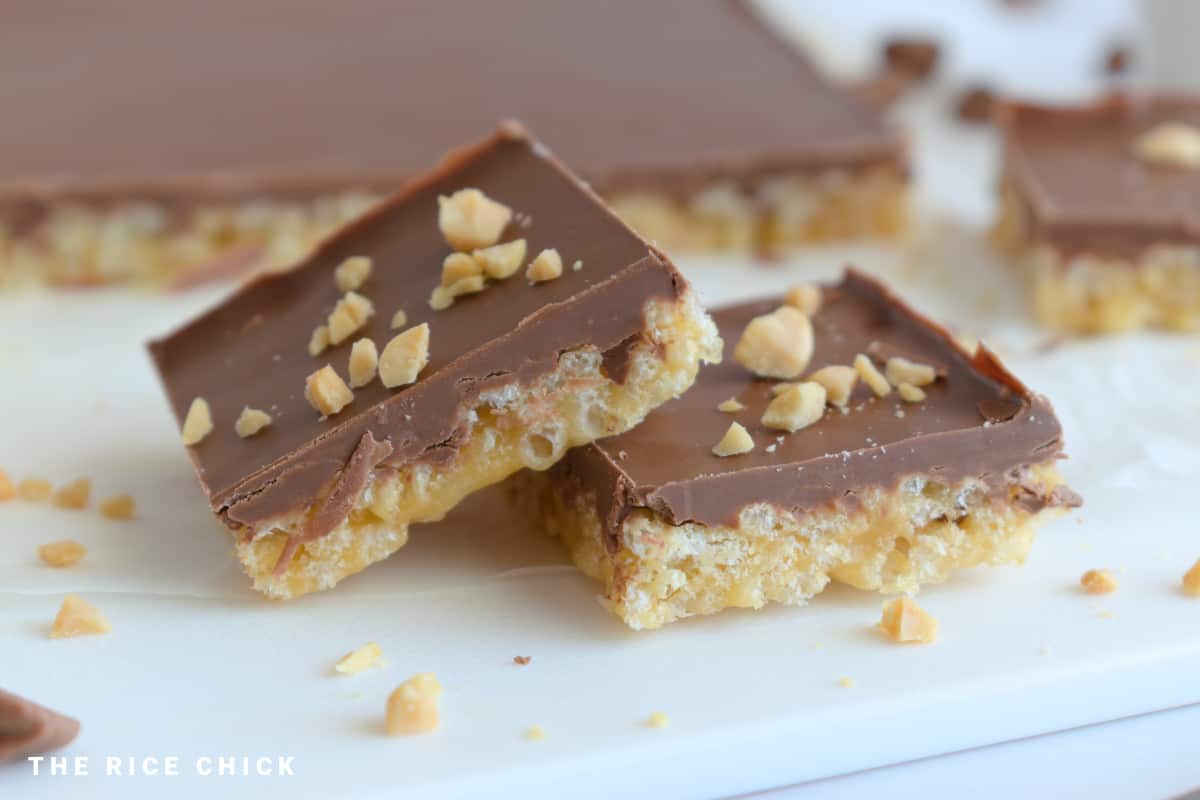
Step Six: Pour over melted chocolate on the top of the rice krispie slice. You could sprinkle hundreds and thousands, extra chocolate bits, or chopped peanuts, on top before the chocolate sets.

Step Eight: Allow to cool until the slice is at room temperature and chocolate is set. Cut into 4cm x 4cm (1.57 inches x 1.57 inches) squares or a size of your liking. Serve.
Tips for Success
Make sure you don't have your heat too high when melting your marshmallows and butter. Remember to stir constantly to avoid burning.
Substitutions / Variations
Before the chocolate has set on top of the slice, you could sprinkle some chopped peanuts, sprinkles, sea salt, or even crushed biscoff biscuits on top.
Other variations you may like to try:
- Chocolate Peanut Butter Pretzel Rice Krispie Treats: Add some crushed pretzels to the melted chocolate before adding on top of the rice krispie treats.
- Peanut Butter Cup Rice Krispie Treats: Before the chocolate sets on top of the rice krispie slice, press mini peanut butter cups on top.
- Rock Road Rice Krispie Treats: Add chopped nuts and mini marshmallows to the melted chocolate.
Storage
These chocolate peanut butter Rice Krispie treats can be stored in an airtight container at room temperature for up to 7 days.
These treats can be frozen for 1 to 2 months. When you freeze them, place layers of parchment paper between the layers of Rice Krispie slices so they don't stick together.
FAQ
Make sure you use fresh cereal and fresh marshmallows. Also, make sure you don't press the treats into the baking pan too firmly.
Yes, you can use dark chocolate instead of milk.
Yes, you can. But if you add extra mix-ins it can affect the overall texture and taste of your treats.
Yes, you can use a microwave to melt the chocolate. When melting, be sure to microwave in short intervals and stir frequently to prevent burning.

Made this recipe? Let us know how it went in the comments below! We'd love to hear how it turned out.
Recipe

Chocolate Peanut Butter Rice Krispie Treats
Ingredients
- 125 grams (4.41 ounces) marshmallows (white preferred)
- 35 grams (1.24 ounces) butter, cubed
- 2 tablespoons (35 grams, 1.24 ounces) peanut butter, smooth preferred
- 2 ½ cups (75 grams, 2.65 ounces) rice krispies (bubbles)
- 250 grams (8.81 ounces) chocolate chips white, milk, dark, or caramilk
Toppings (optional)
- Crushed peanuts sprinkles, or grated chocolate
Instructions
- Grease and line a slice tin (17cm x 27 cm, 6.69 inches x 10.62 inches) with parchment paper on the bottom and sides.
- In a medium to large saucepan, heat the butter, marshmallows, and peanut butter over low to medium heat until melted and the mixture is smooth and liquid. Stir occasionally so that it does not burn or stick to the saucepan.
- Turn off heat. Mix through the rice krispies.
- Pour mixture into prepared slice tin. Press gently down the mixture using the back of a spoon or spatula to flatten the top and make it even. If you want the top of the slice to be smooth, simply place parchment paper on top and smooth the slice with your hands.
- Melt your chocolate chips in the microwave with a microwave safe bowl or using the double boiler method.
- Pour over melted chocolate on the top of the rice krispie slice.
- You could sprinkle hundreds and thousands, extra chocolate bits, or chopped peanuts, on top before the chocolate sets.
- Allow to cool until the slice is at room temperature and chocolate is set. Cut into 4cm x 4cm (1.57 inches x 1.57 inches) squares or a size of your liking. Serve.
Shopping List
Generate a shopping list from this recipe using ChatGPT.
This feature uses a third-party AI tool. Outputs are generated by AI and may not always be accurate or reflect the content of this site. Ingredients and suggestions may not account for allergies, dietary restrictions, or substitutions. Please check all results carefully and use your own judgement before purchasing or consuming ingredients.


Comments
No Comments